Willow Branch Rooting Hormone

IMG_7553.jpeg

Willow has a long history of being used for medicine, building/weaving and magic. Willow has a high concentration of Salicylic acid and Indolebutyric acid which helps it to root itself easily along river banks and marshes where it prefers to grow. These compounds can be easily extracted to make your own DIY rooting hormone for plant propagation, transplanting wild plants into your garden or giving your house plants a rooting boost.

IMG_7554.jpeg

I’ve read many recipes for a cold infusion method. However my botany teacher taught me heat extraction (and its all I’ve ever used) so this is what I’ll share.

Recipe

  • The ratio is 1 part plant material to 2-3 parts water. You can scale for your desired amount of final product.

  • Gather your desired amount of willow clippings. Many local species can be used depending on what you have near you. I used weeping willow branches from a tree I visit frequently.

  • Cut your clippings into 2 inch sections and cover with water.

  • Bring to a boil and let simmer for 10-15 mins

  • Once cool you can strain off the clippings and use the water to water your plants or soak your propagation cuttings.

Flower Pickles

Magnolia petals for pickling.

Magnolia petals for pickling.

Yes, strange as it may sound, many flowers have a history of being pickled. This spring I have found it to be a fun way to experiment with adding more wild foods into my diet. Plus working with these pretty blooms is a lovely way to connect to the energy of the season right now.

Cherry blossom traditionally is pickled in a more labour intensive sakura recipe.

While Magnolia petals are suited to a quick vinegar & sugar process. Magnolia has a similar texture to pickled ginger with a slight astringent quality. It lends itself well to sushi garnish or onigiri recipes.

Pickling the flower buds or seed pods of dandelion, nasturtium, or wild garlic gives a similar but local take on a caper.

The recipe for pickle brine is somewhat standard so feel free to play with what edible blooms you have around you and adjust according to taste.

Pickled flowers:

  • 1 cup flowers

  • 1/2 cup water

  • 1/2 cup vinegar - rice wine, plum, apple cider

  • 2 tbsp sugar

  • 1/2 tbsp sea salt

Place flowers in a mason jar. Lightly simmer water, vinegar, sugar and salt. Pour over flowers and let sit in fridge over night. Will keep for 2-3 months.

Magnolia - Edible, Medicinal & Cosmetic Use

AfterlightImage.jpg

These beautiful and prehistoric trees have a lineage going back 20 million years ago. Alive before the existence of bees, it is thought that their giant blossoms developed to encourage pollination by beetles and other large insects. 

The Magnolia bloom is a harbinger of spring on the coast. Their beautiful and ethereal presence has a deep history of inspiring arts and culture around the world. With each part of the plant having specific medicinal and culinary uses.

The buds in TCM are dried and used to relive sinus congestion, runny nose and treat lack of smell.

The Bark in TCM is used to descend cough and treat constipation. In Japan it was studied for sleep issues and dental health and in southern herbalism used to treat anxiety and insomnia.

The petals in TCM are used to clear and brighten the complexion and eaten raw and cooked in a variety of dishes. Many southern states also have a tradition of cooking with Magnolia petals, most commonly pickled with vinegar and sugar.

This season I have really enjoyed connecting with magnolia and visiting the trees in my neighbourhood. I have been using the buds and petals in daily facial steams. Experimented with pickling the petals. And made my favourite seasonal recipe of magnolia facial toner that soothes, clears and brightens the skin.

Magnolia Facial Toner Hydrosol:

Directions:

  • Place petals and witch hazel in a mason jar and let extract for 5-7 days. Shake daily.

  • Strain petals and use in a facial steam

  • Combine infused witch hazel with rose water and essential oils in a spray bottle.

  • Mist face after washing, and/or use to enhance & clear the energy of your space.

*Do not use magnolia in any form if pregnant.

Magnolia buds for facial steams to clear sinuses.

Magnolia buds for facial steams to clear sinuses.

Black Cotton Wood - Balsam Poplar Resin

IMG_6720.JPG

The wind storm a few weeks ago reminded me to check on the poplars. The tall brittle branches snap in the wind, offering the resinous buds to the ground after a storm. I haven’t harvested this medicine in a few seasons but have been feeling called to spend more time with trees as of late. Their way of adapting to storms is a good reminder for us of staying grounded, transforming chaotic energy into renewal, and not resisting what wants to bend and break. This tree has helped heal my strained relationship with the wind. What used to be a source of dread and annoyance is now an appreciation of wind pollination and welcoming back of this seasonal treat.

The spring time buds have a resin that has been used for hundreds of years by bees and people alike. Balsam resin is commonly collected by bees and turned into antiviral/microbial propolis used for water proofing/sealing the cracks in the hive (and often thieved by humans for its therapeutic properties). Poplar resin has been used for centuries in balm of gilead - a recipe for medicinal perfume that dates back to biblical times. An infused oil or salve can be made for aches and skin conditions. Or buds can be extracted into an alcohol tincture for immune support or a medicinal throat/mouth wash.

Two ways I have used poplar buds this year are an infused honey for immune support and infused oil to mix into magnesium rich baths salts for added muscle relief.

Poplars are part of the willow family and grow in similar wetland habitats. You can find them growing near streams, rivers and marshes. The optimal buds for harvesting are fragrant, sticky and resinous with a brownish red color. As mentioned before, its best to harvest after a wind storm when the buds are scattered on the forest floor, rather than taking them from live branches.

IMG_6718.JPG
fullsizeoutput_f2c.jpeg

Bigleaf Maple Blossoms

fullsizeoutput_f95.jpeg

Bigleaf maple blossoms are now in full show in our pacific north west climate. They are a crispy tender edible, tasting similar to sugar peas. Wonderfull chopped into salads, pickled, or dipped into batter and fried into fritters.

They are a significant pollen source for our pollinators and as such, may be aggravating to some allergy sufferers. I like using local blooms like maple as a type of “exposure therapy”, taken as a tablespoon infused in herbal vinegar daily to help curb hay fever symptoms.

Maples are known as a grandmother tree and it feels pretty special to gather flowers from trees that are hundreds of years old.

One recipe I’ve been enjoying this season is maple blossom pesto. Pestos are a nice way to get the nutrients of wild greens into your diet in a taste accessible way. Plus you can can them for dry storage to have a nice chlorophyll boost in the winter months. You can experiment with subbing different greens into the recipe - nettles, chickweed, miners lettuce or whatever you desire.

Maple Blossom Pesto

fullsizeoutput_f96.jpeg
  • 1 1/2 -2 cups maple blossoms

  • 1 - 1/2 cups fresh basil leaves

  • Optional: a handful or two of fresh mint

  • 2-3 cloves of garlic

  • 1/4 cup of pumpkin seeds

  • squeeze of fresh lemon

  • Salt and pepper

  • Olive or grape seed oil - 1/4 cup to start and then add to your desired consistency

Directions:

Add all ingredients to a food processor and pulse until your desired pesto texture. Add extra oil as needed. Keep for 2 weeks in fridge or seal & can for dry storage.

IMG_7442.jpeg

Floral Fermented Honey

Image from Fare & Flourish

Image from Fare & Flourish

Infusing honeys is one of my favourite ways to preserve herbs and extract their medicinal properties in a gentle way. Over the years I’ve found that fermented honey is the best way to capture the more delicate flavours of florals. Especially florals chosen for taste over health benefits.

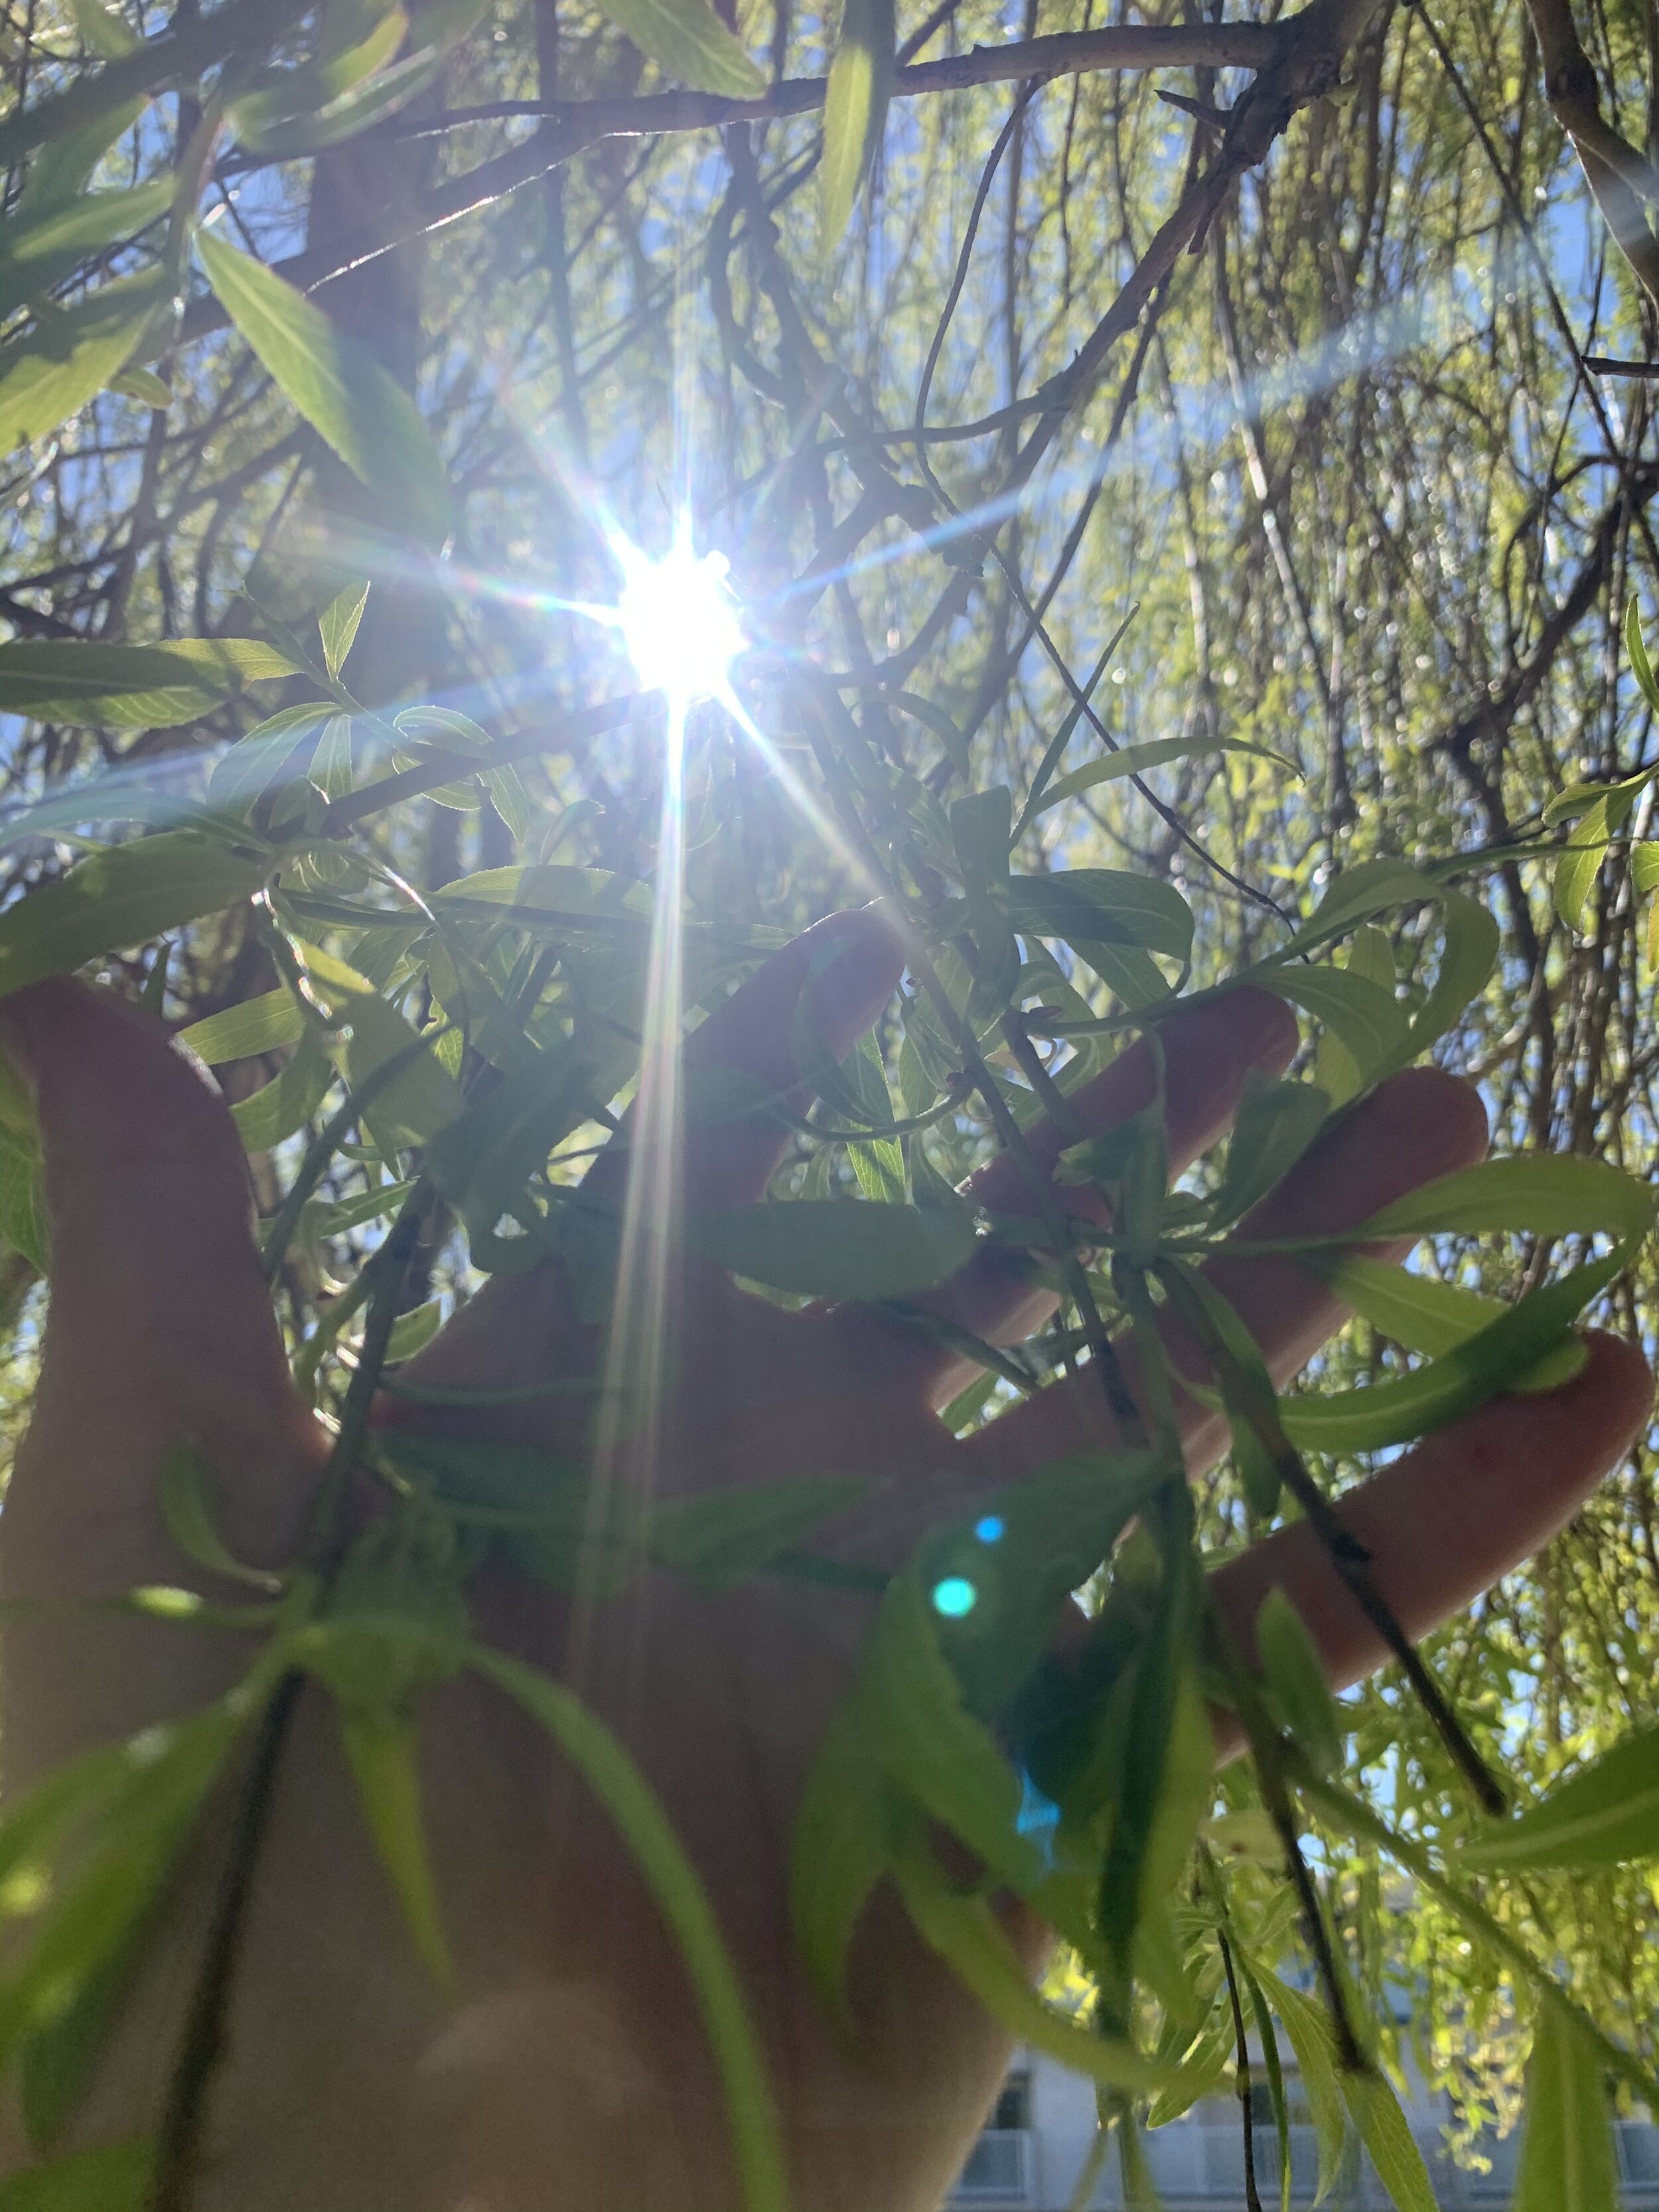
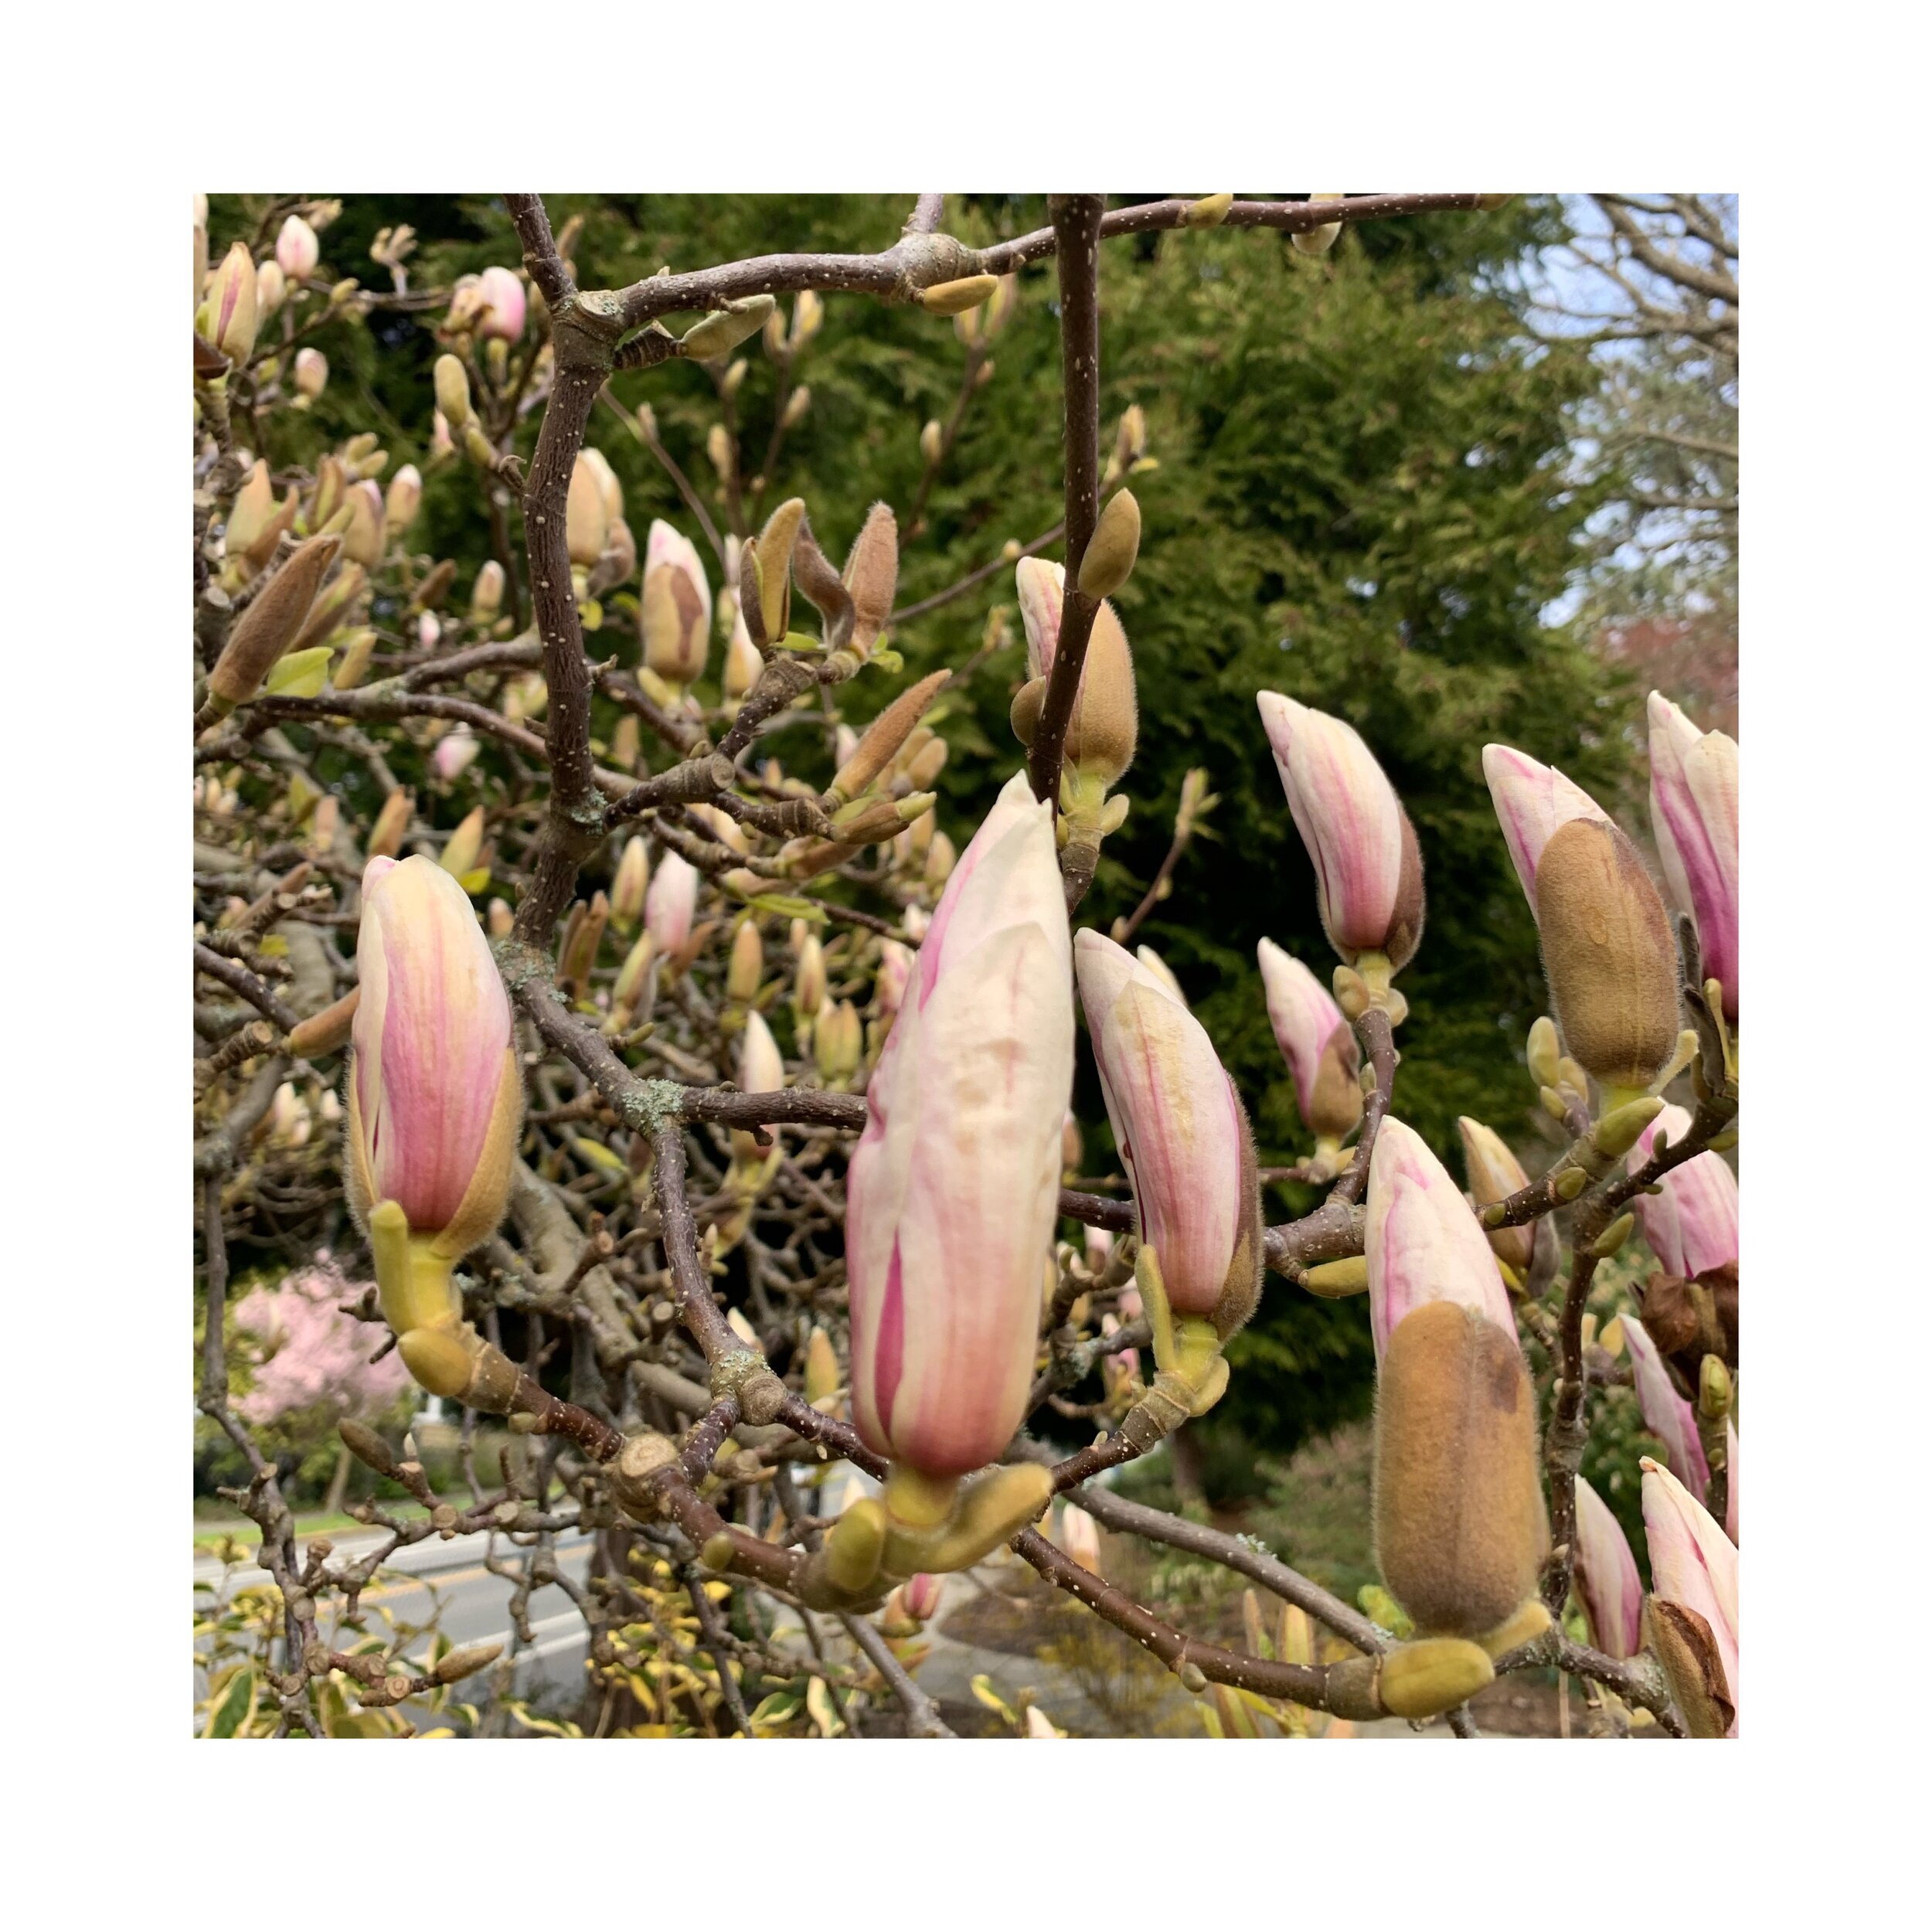
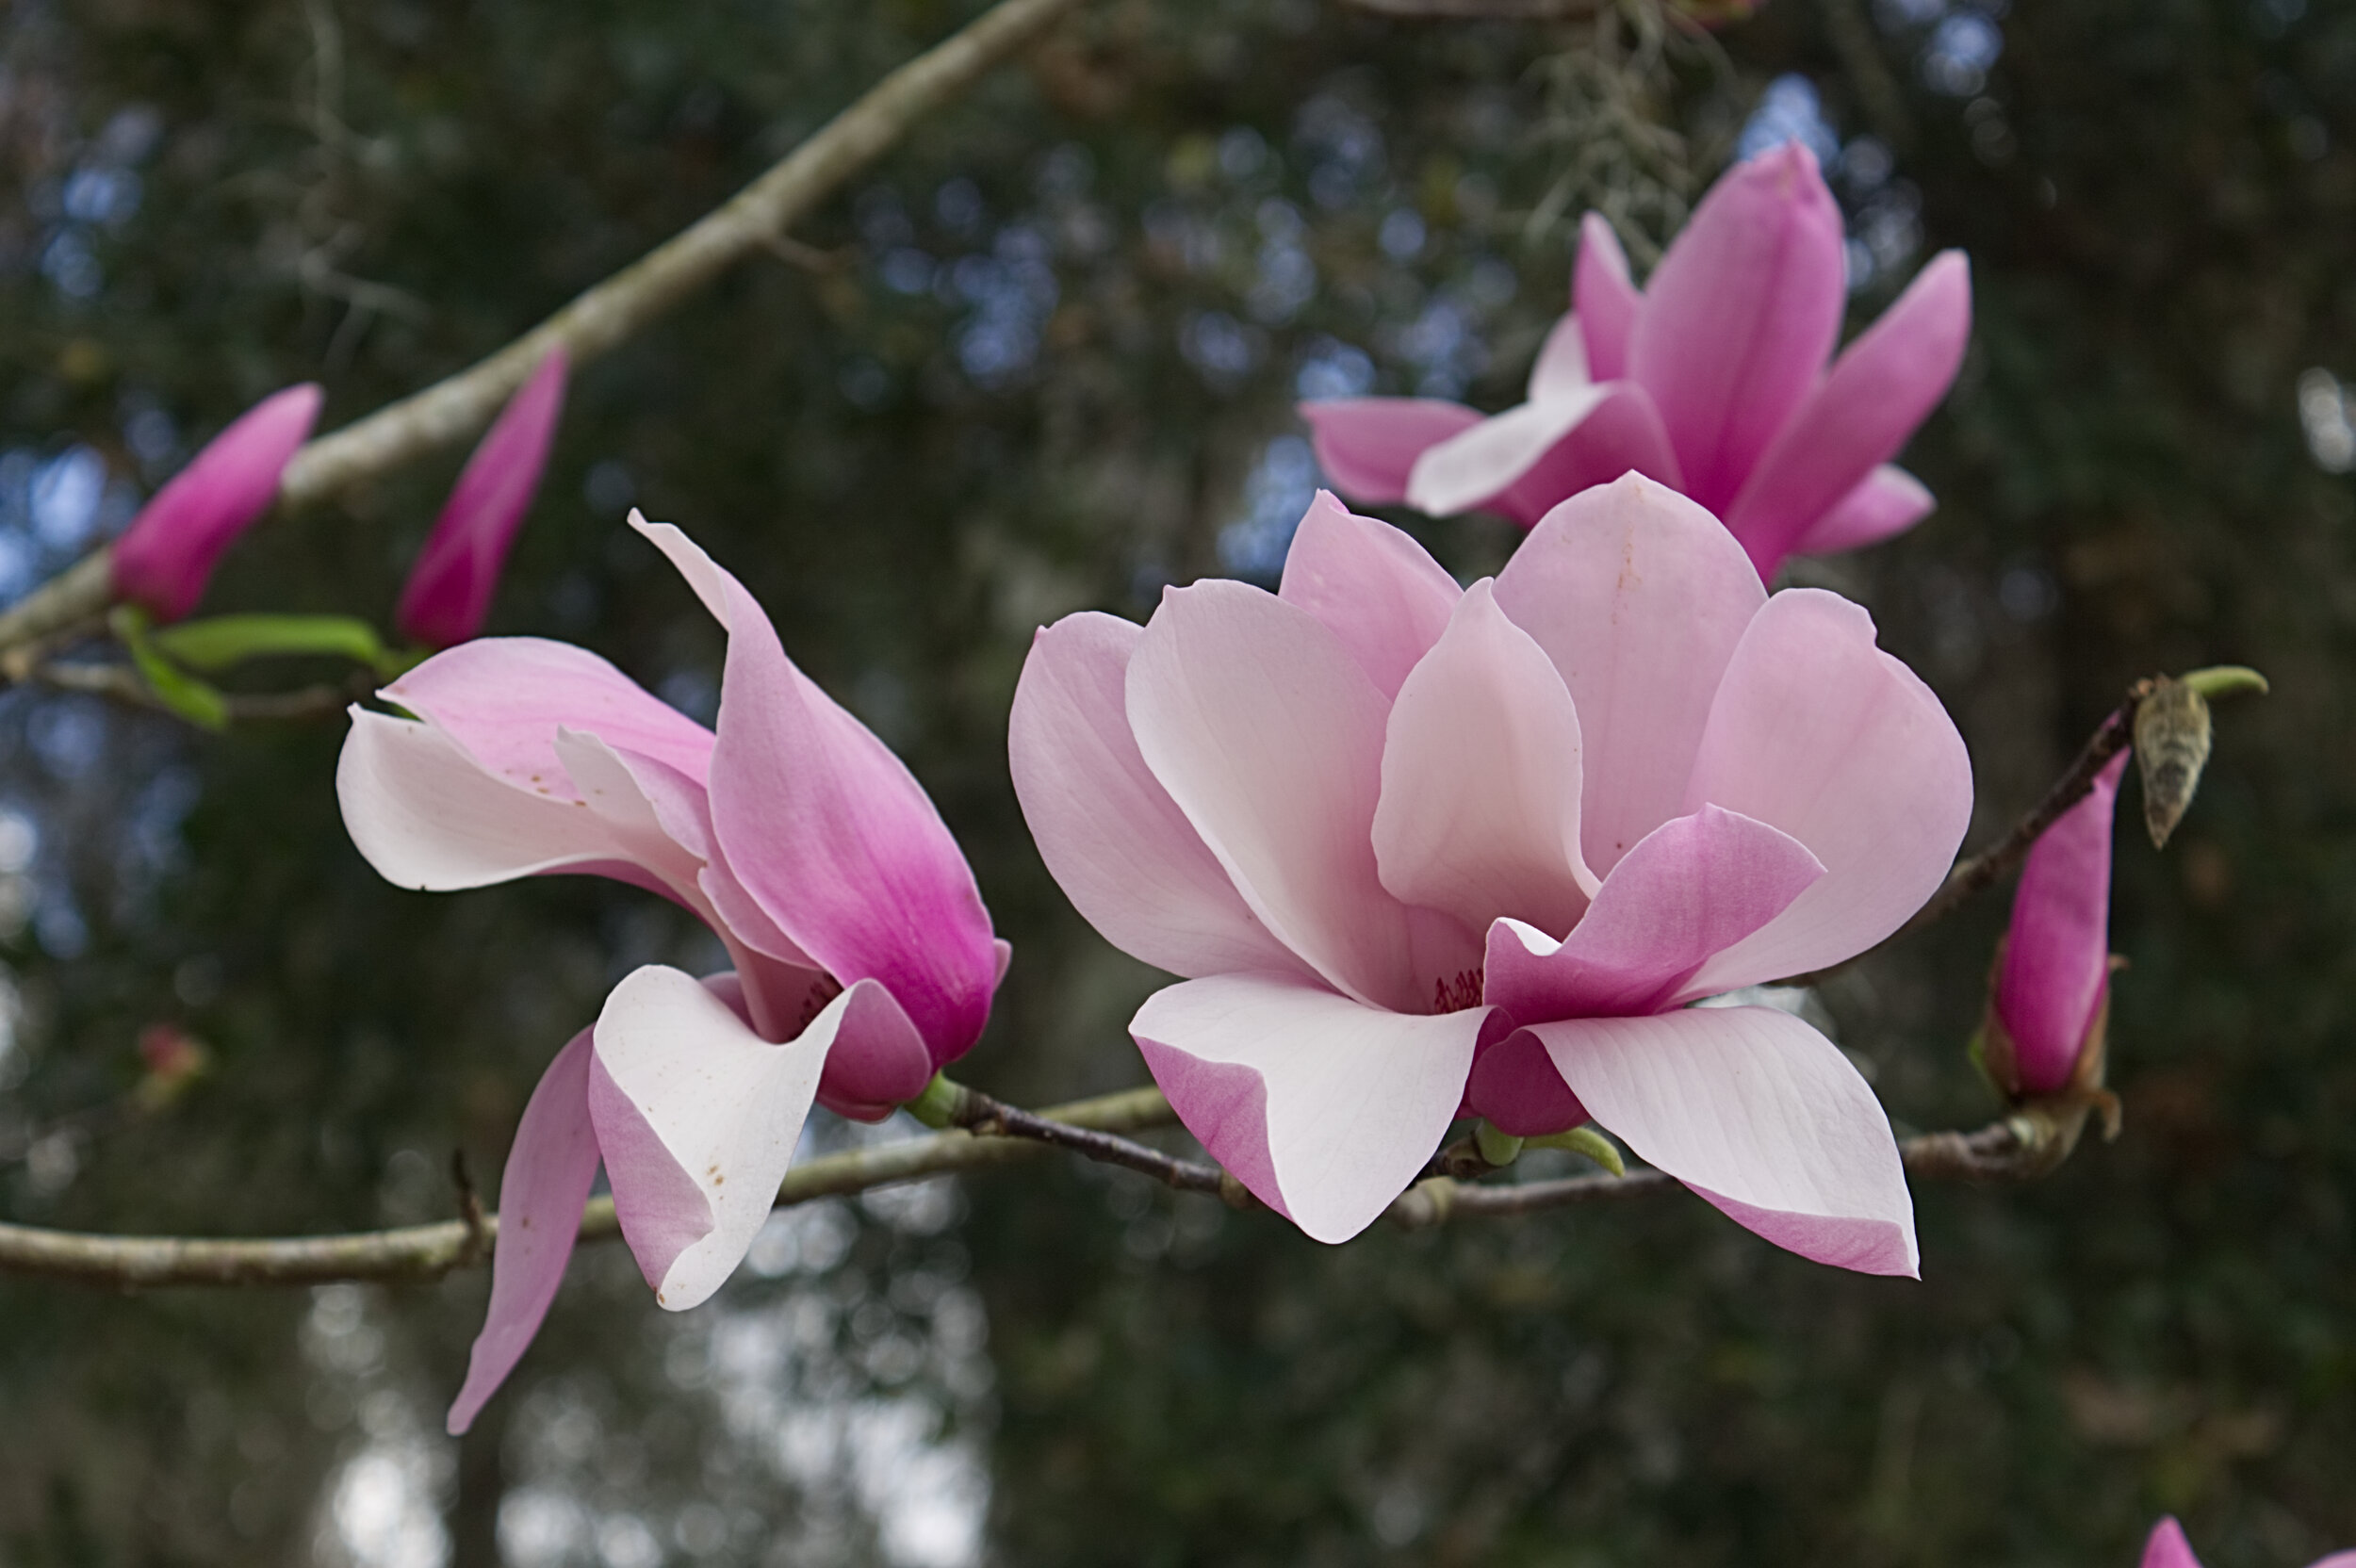
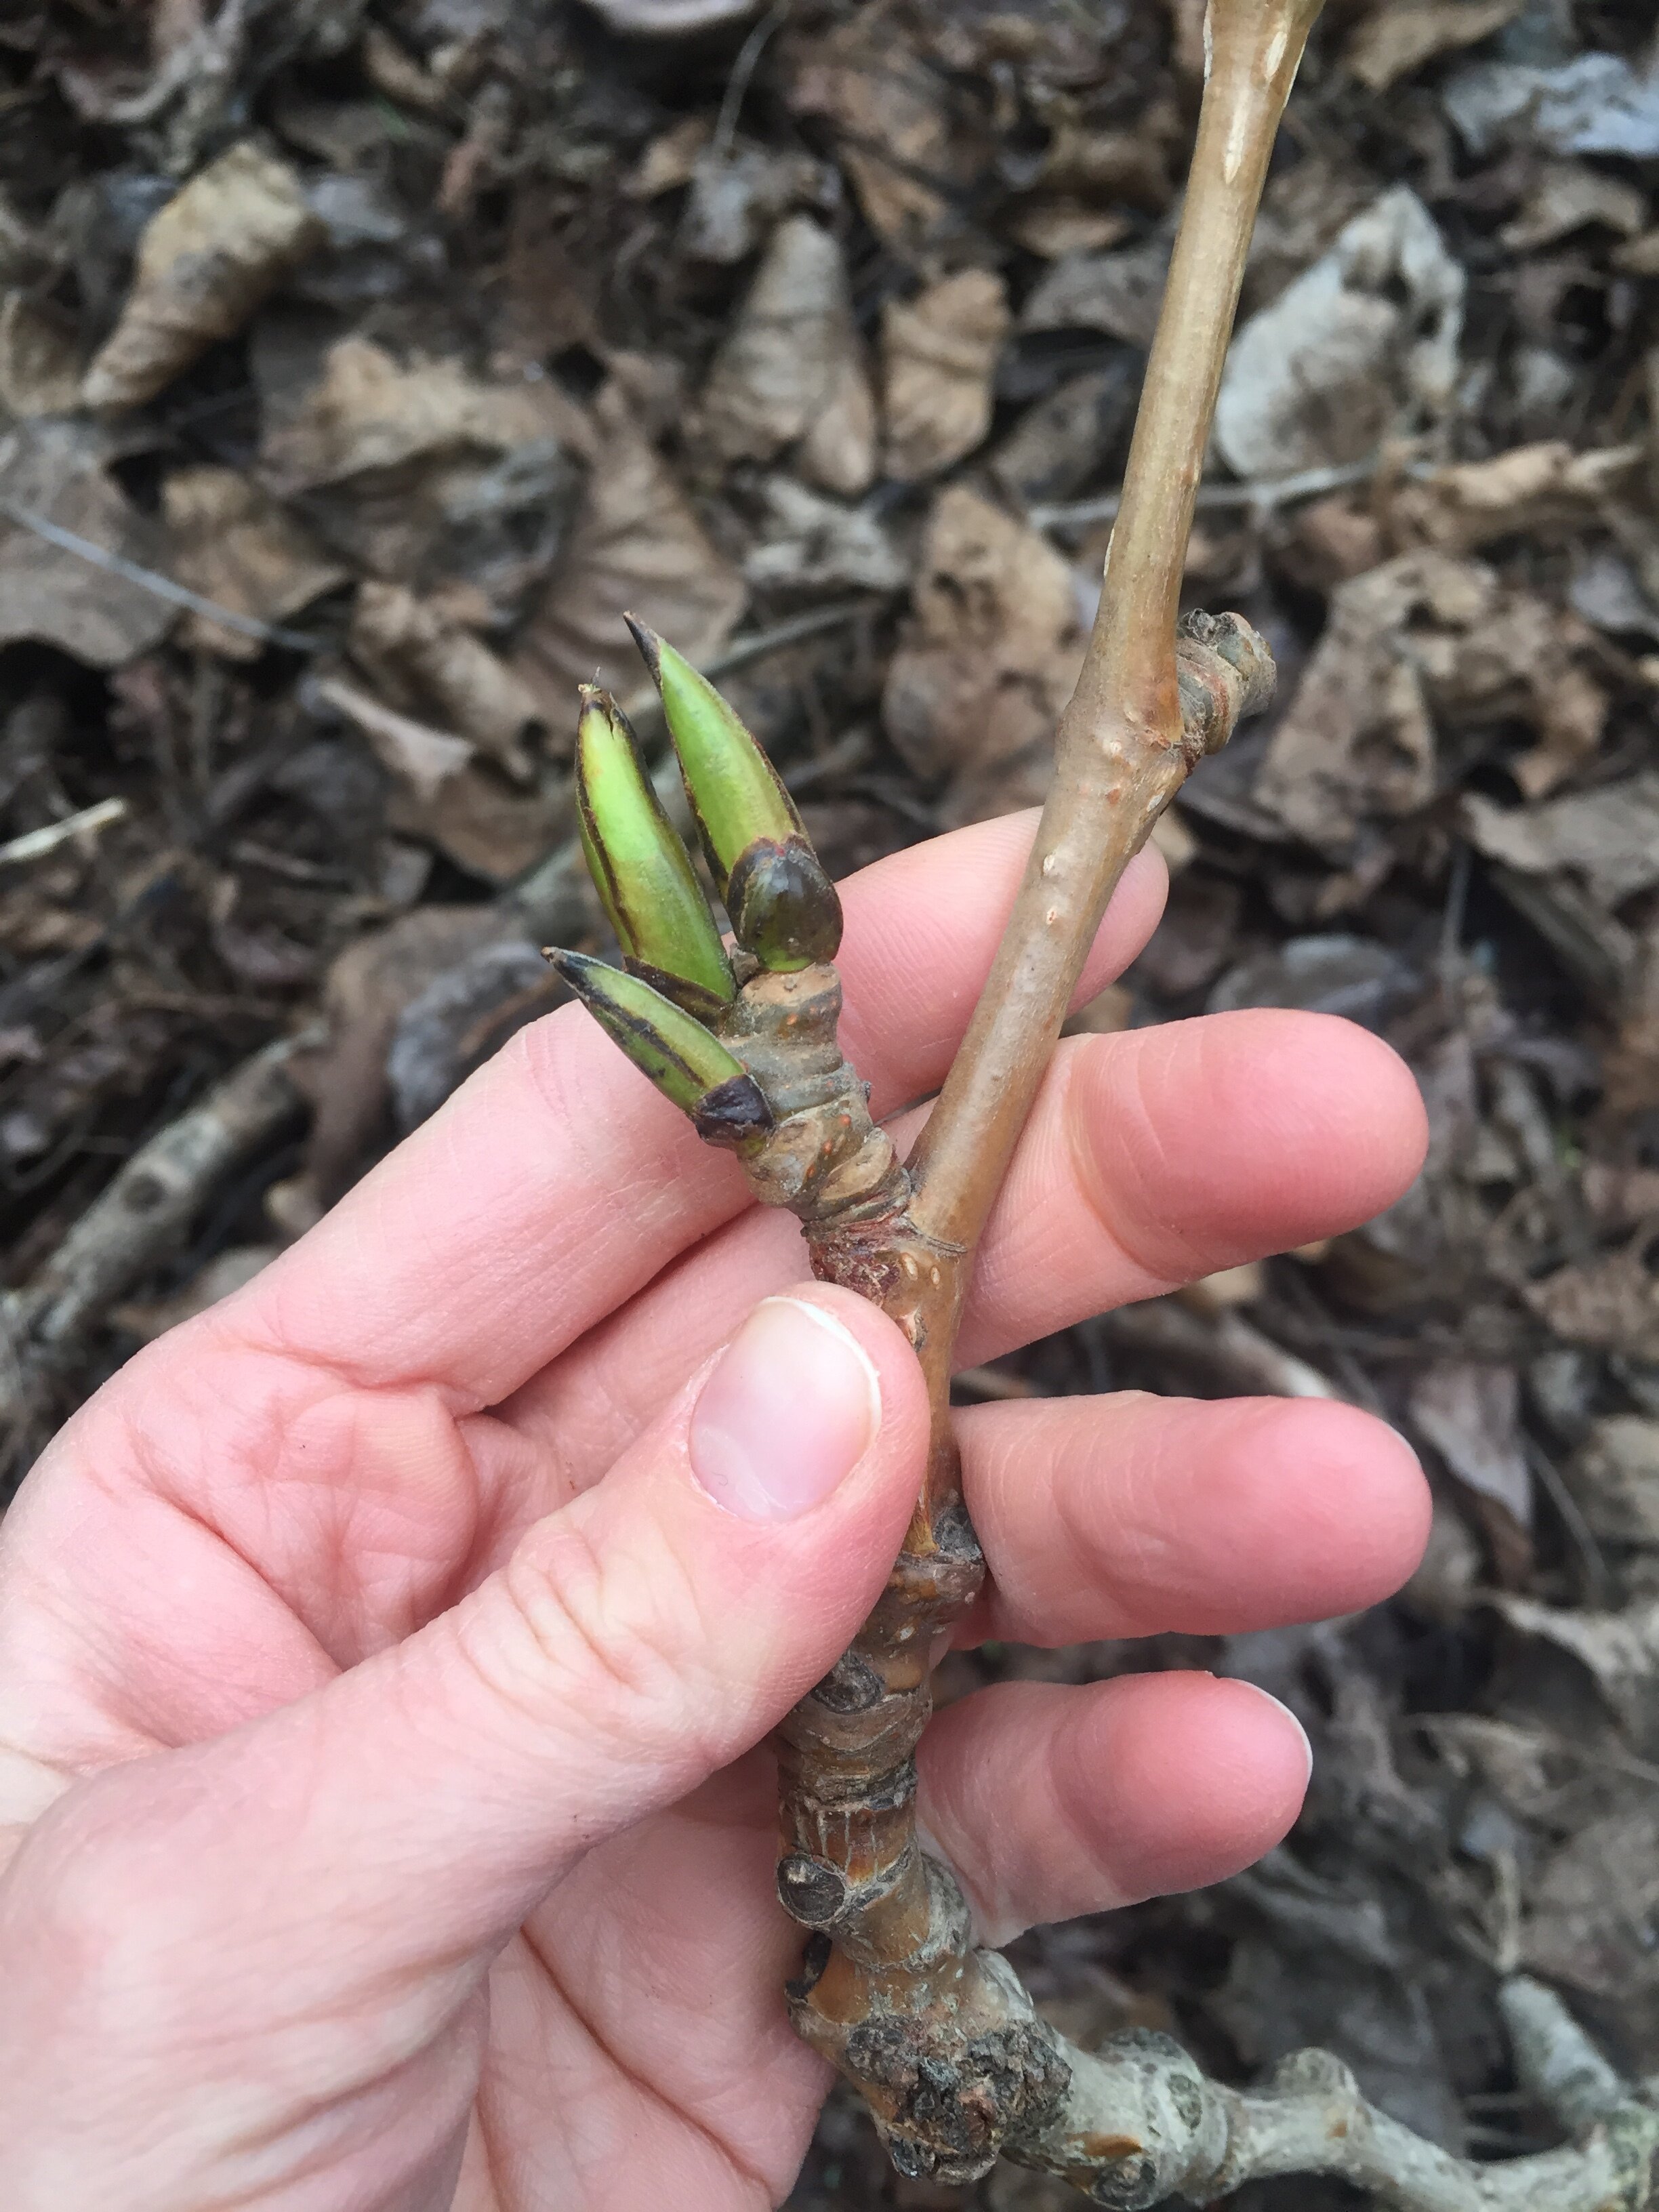
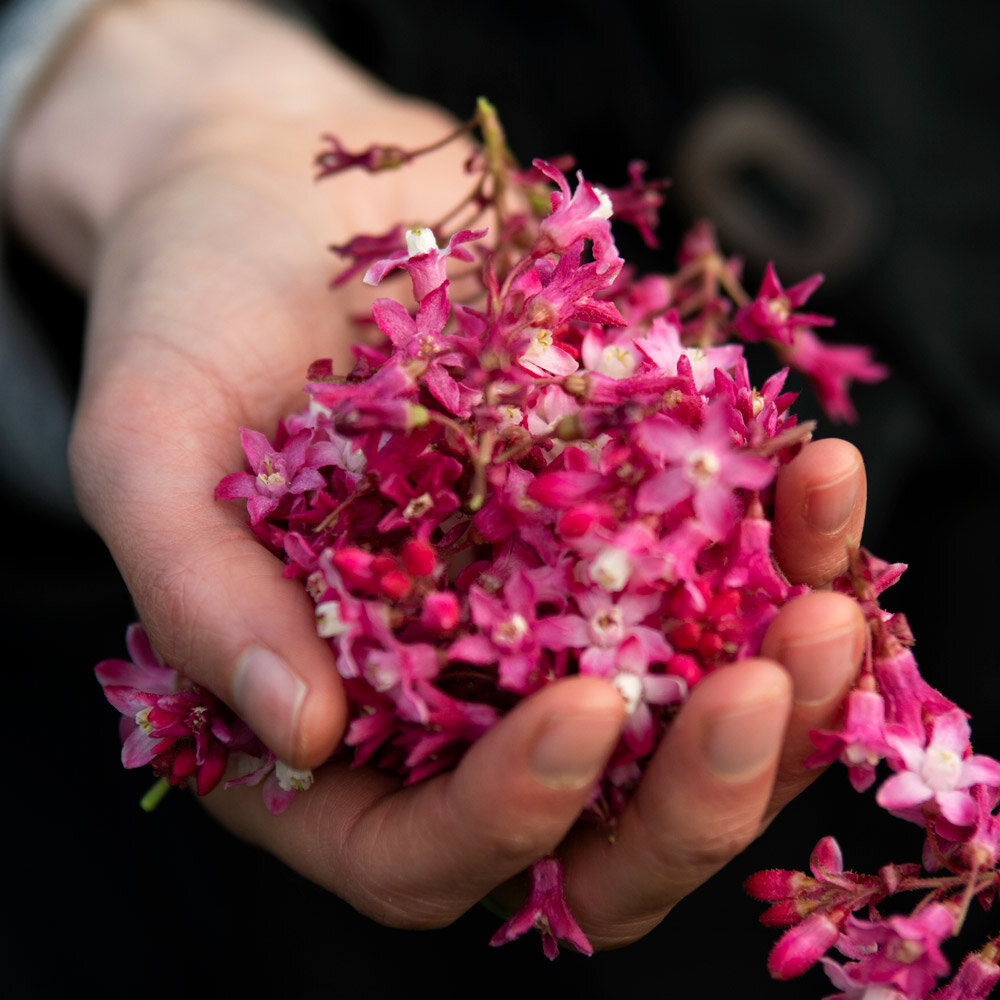
You can use any edible floral for this. I’ve used cherry blossom, plum blossom, flowering currant, wild rose, hawthorne blossom, wild violets and my personal favourite - lilac. They all produce unique favours, complexity and colours.

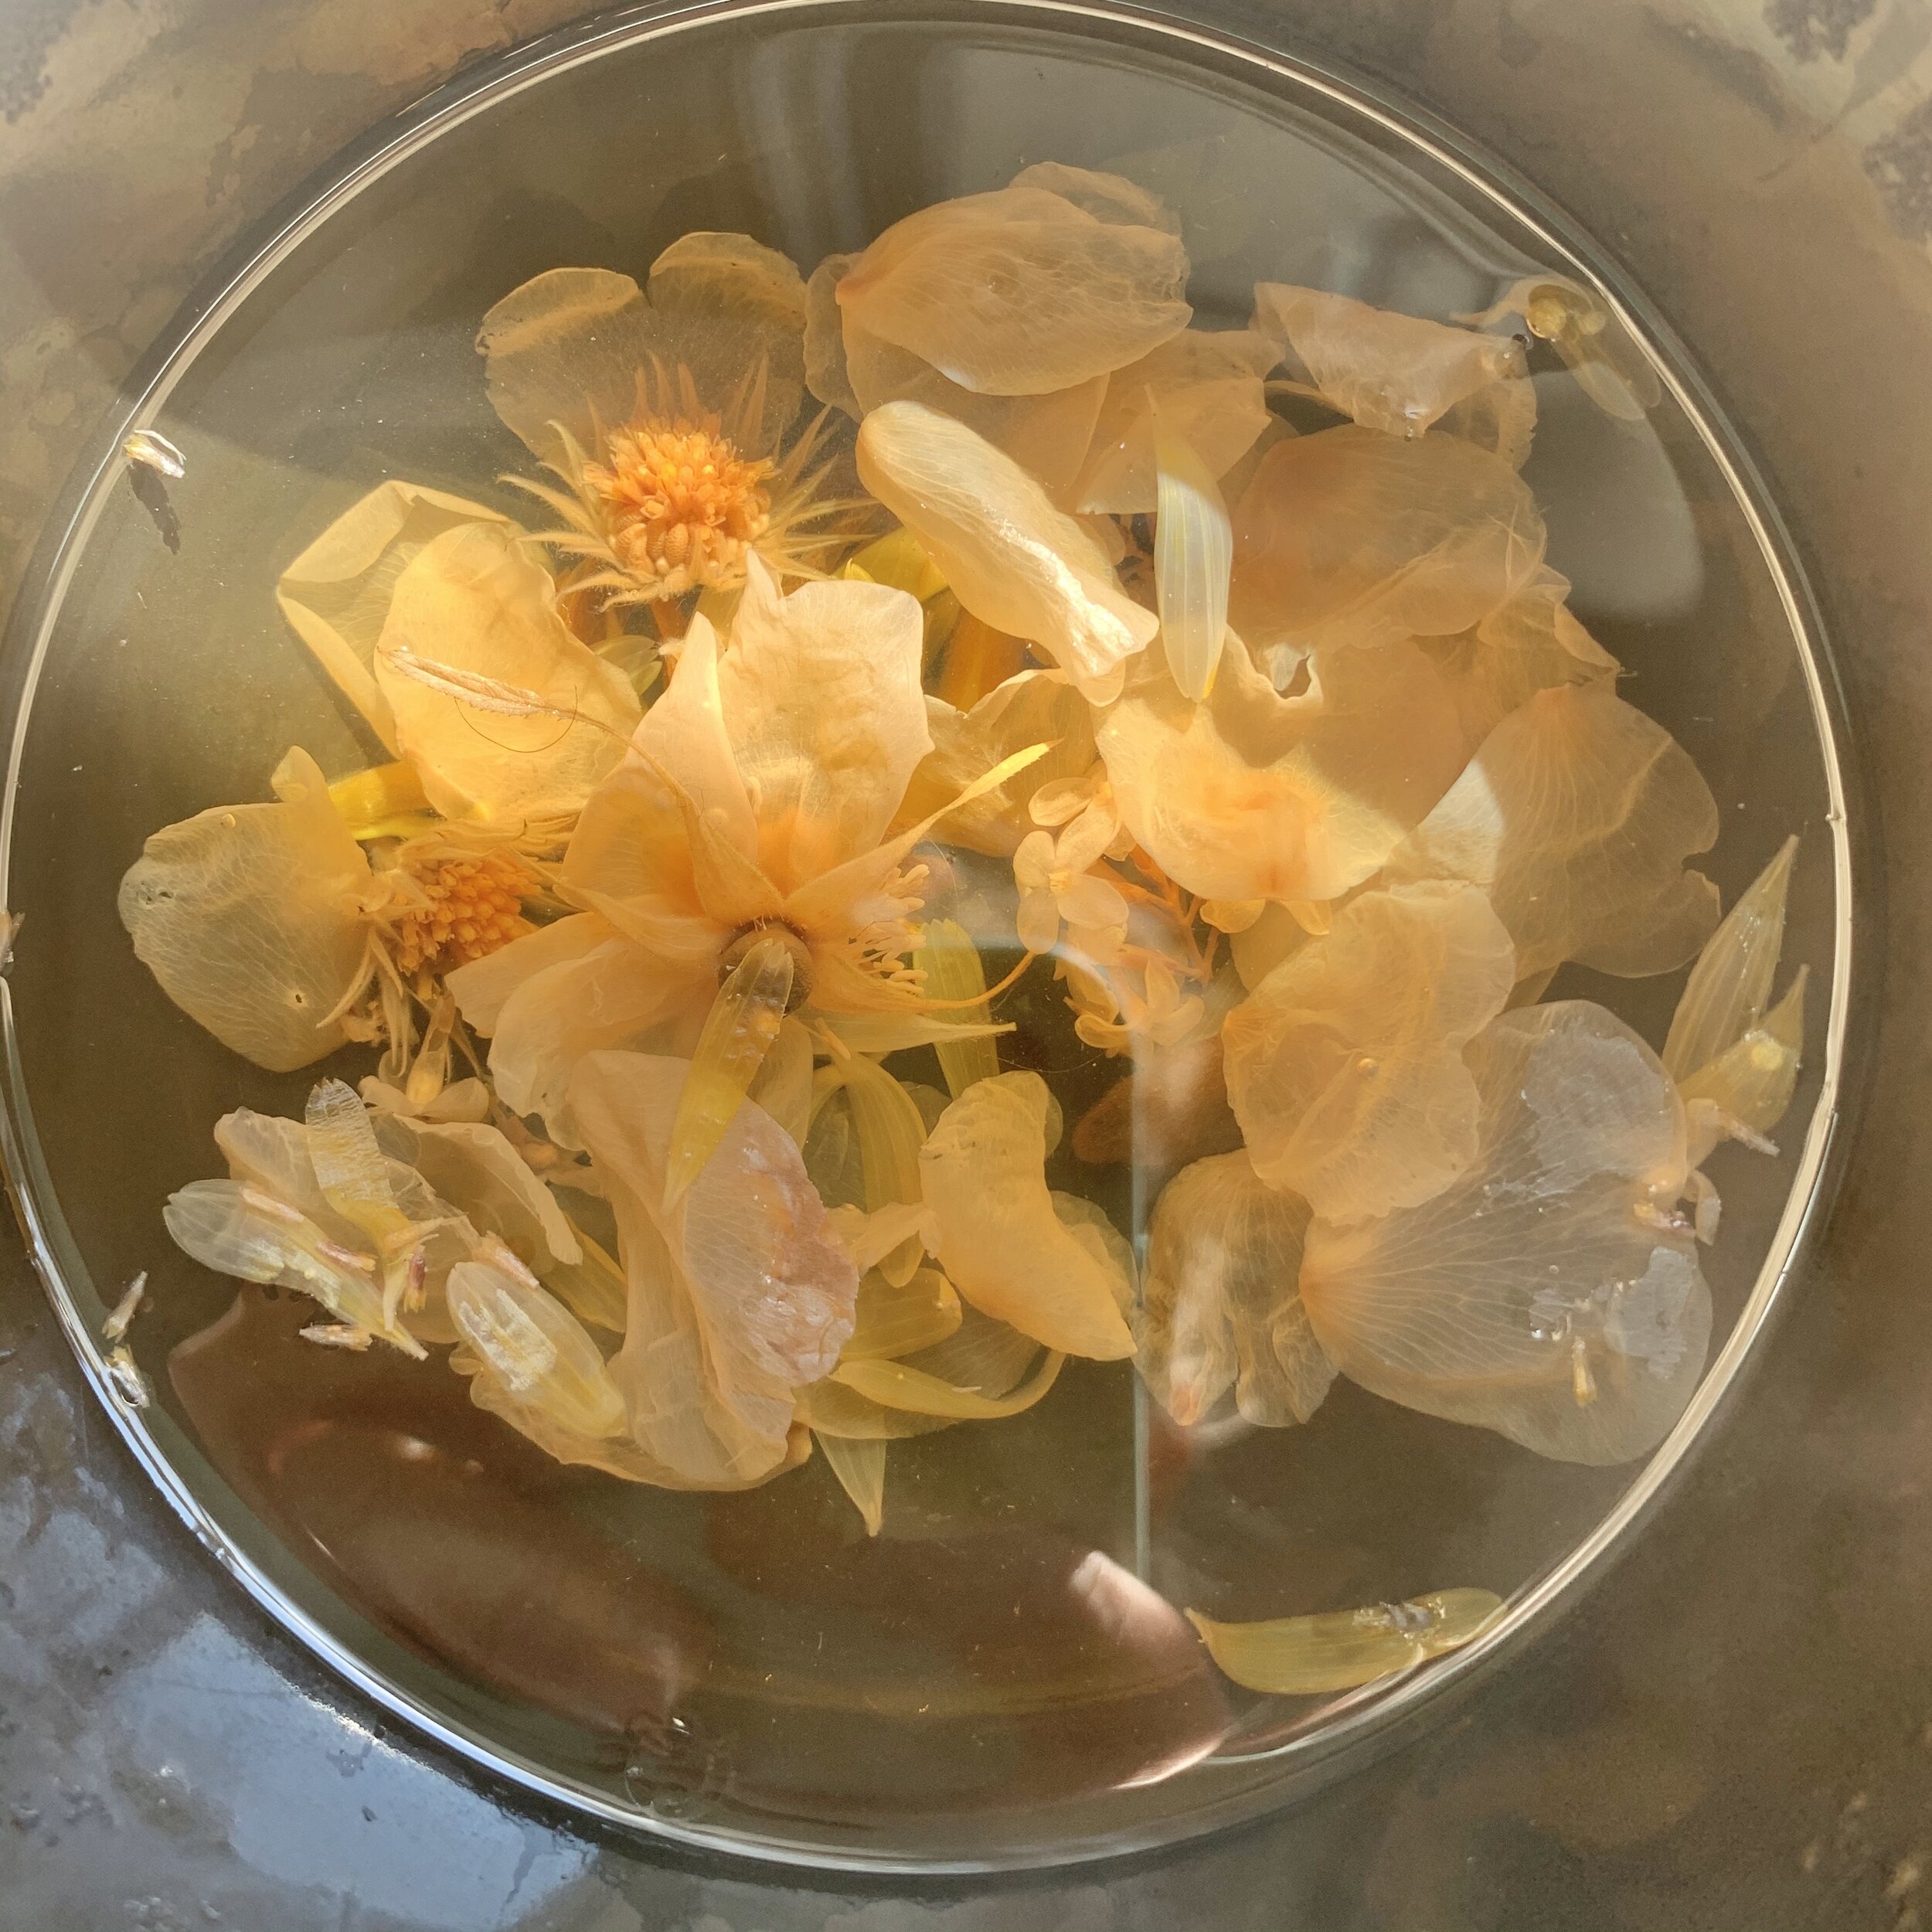
Honey on its own—despite containing a healthy population of bacteria and yeast—will rarely spoil. The high sugar content, low pH and low water content halts microbial activity. In order to support fermentation in this recipe, we need to dilute the honey slightly with water. This permits the natural yeast found in the honey and on the cherry blossoms to initiate fermentation. For other fermented honey recipes when the water content of the added ingredient is higher, you do not need to dilute the honey. This fermented honey will take 2–3 months for the flavours to develop. You can tell that your honey is fermenting when you see bubbles start to form. 

Adding water to the honey, you will get a finished product with a similar consistency as cordials - but with a more complex flavour and higher nutritional value. So in my opinion, it’s worth the 3 month wait over making a quick cordial.

Once finished you can use the honey in soda water, tea, lemonade or cocktails. Or bottle in a dropper and take a few drops on the tongue as an elixir. It’s also lovely drizzled over summer fruits or ice cream.

INGREDIENTS

1–1 ½ cup flower petals or blossoms (stems removed)

1 ¾ cup raw, unpasteurized honey

¼ cup filtered water, or tap water distilled on the counter for 24 hours (to remove chlorine that would injure fermentation)

1 glass jar with a lid

*The proper water to honey ratio is 1:7 for fermenting. You can adjust your recipe accordingly. If you add too much water, you may convert sugars to alcohol, making a product more similar to mead. Not a terrible mistake ;)

How to

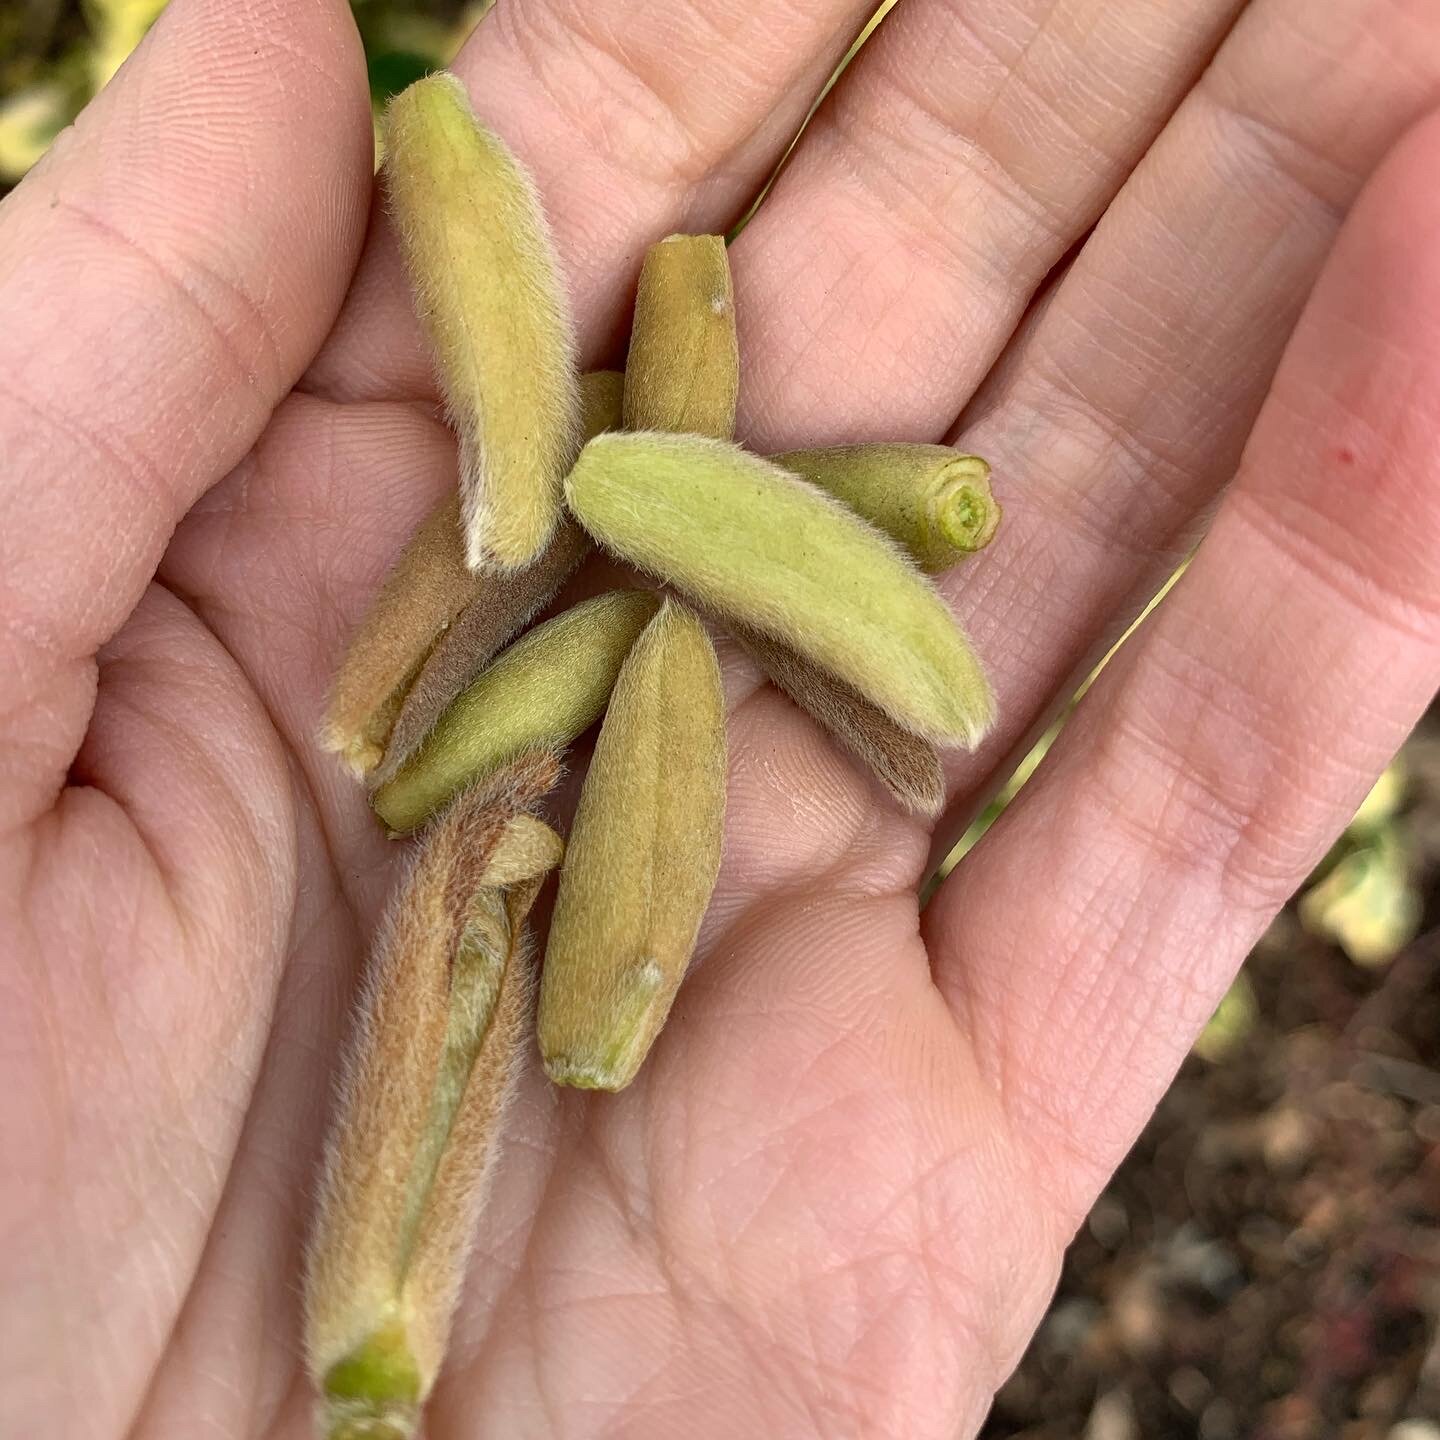
  1. Don’t wash the flowers, as this will remove the natural yeast and pollen needed for fermentation. Instead, after collecting, let them air out for 12 hours. This allows any critters to crawl out.

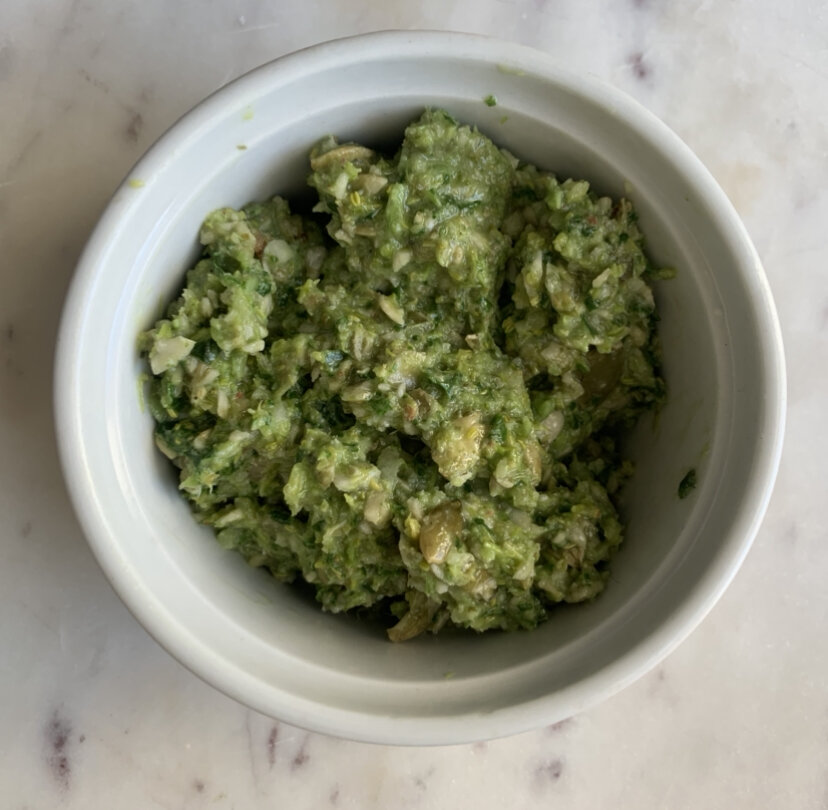
  2. Place florals in a clean, sealable jar.

  3. Pour the honey over the blossoms.

  4. Add the filtered water and mix thoroughly. 

  5. Seal the jar and store away from heat and direct sunlight. 

  6. Shake or invert the jar daily to ensure that the blossoms are covered in honey. 

  7. “Burp” the jar every week by opening it to allow any gases to be released. 

  8. After 2–3 months, strain the honey to remove the blossoms. Store in a glass jar and refrigerate.

*** Please note: children under the age of 1 should not consume honey, because it may contain bacterial spores that can cause botulism.

*** If your honey looks or smells funky, trust your instincts and don’t eat it. 

Floral Facial Steams

Facial steams are a lovely and grounding way to clear the sinuses, open & cleanse the pores, and bring fresh circulation to skin tissues. The additional health benefits will be specific to what flowers and herbs you use. You can use fresh or dried plants. Add some Epsom salts for added sinus relief, or essential oils for more aromatic effect. Whether you are looking for allergy & sinus congestion relief, benefiting your complexion or a grounding self care practice, herbal facial steams are a great way to connect to nature growing around you.

For this steam I used magnolia buds and calendula blooms, both of which are currently growing on my street. I added some dried Nootka rose and lilac from last spring and three drops each of lavender and ylang ylang essential oils. This was just what I had accessible to me, but it’s nice to experiment with different herb & flower combinations to utilize whats growing around you in each season.

*do not gather or use herbs unless you are 100% confident

Floral & herbal options

fullsizeoutput_f3d.jpeg
  • Magnolia buds or flower petals

  • Calendula

  • All types of roses

  • Lavender

  • Violets

  • Jasmine

  • Elderflower

  • Peony

  • Lilac

  • Rosemart, thyme, sage (for headaches, sinus congestion/infection)

Recipe

  • one handful fresh or dried herbs

  • 4 cups water

  • optional: 2 tbsp epsom salt

  • 4-6 drops of essential oils (less if they contain high camphor such as eucalyptus, lavender)

Directions

  • Bring water and herbs to a boil for 3-5 mins. Make sure the pot is covered with a lid so the volatile oils from the plants don’t evaporate.

  • Pour the herbs and water into a deep bowl. Add salt or oils if you are using them.

  • Place your face above the bowl and drape a towel over your head to contain the steam around your face & bowl. Take some deep breaths and relax into the heat until the steam has cooled. You can reheat and repeat 2-3 times as desired.

  • *It’s important to find a steaming position that is comfortable. Placing the bowl on a table works well. My personal favourite is steaming while in “childs pose” on the floor.

  • You can use the left over water and herbs to add to a bath or foot soak.

Wild Herbal Vinegar

Vinegars are a nice way to capture and preserve the flavours of the herbs and wild blooms of spring. Vinegars are considered sour, warm and moving in TCM food energetics. Sour foods affect the liver, and move stagnant energy in the body. Herbal infused vinegars are a nice supplement to help the body attune to spring after a winter of heavy foods.

While most clear vinegars infuse beautifully with herbs, I prefer to use unpasteurized vinegars, for their added digestive benefits. I would only advise against using white household vinegar, as the acidity its too overpowering for more delicate tasting herbs.

currants2.jpg

Types of vinegar:

  • Apple cider vinegar

  • Umeboshi vinegar

  • Rice or white wine vinegar

  • Coconut vinegar

Herbs and blooms:

  • Plum and cherry blossoms

  • Maple blossoms (pictured)

  • Flowering currants (pictured)

  • Nettle

  • Dandelion greens & blossoms

  • Rosemary, thyme, sage, basil

Ingredients

  • 2 cups apple cider vinegar

  • 1 cup of fresh plant material, or half a cup of dry

    Herbal Vinegar

  • Make sure the glass containers that you are going to use are clean and dry.

  • If you have foraged the herbs, leave them in an open paper bag for 24 hours to allow any insects time to crawl out.

  • Put the herbs in the container, cover with apple cider vinegar, and close the container.

  • Shake the container occasionally, and insure that the herbs are always covered by vinegar.

  • Taste the vinegar after one week. At this point, you can strain the herbs or keep infusing for up to one month. Use cheesecloth, or a coffee filter to strain the herbs. You don’t want to have any remaining plant material, as that could cause spoilage.**

  • Store the vinegar at room temperature, and out of direct sunlight.

  • Unopened, the vinegar will last one to two years. Once opened, use the vinegar within 6 months.

  • **save the vinegar soaked herbs to use in salad dressings, stir fry, or to top salads.

currants.jpg